
Curious about our new app?
We have a new Flex HRM app currently under development. Here you can see how to get started with the new app.
Create and manage travel expense claims in HRM Mobile
In HRM Mobile, you can manage your entire travel expense claim directly on your mobile. You can photograph receipts and link them to your expenses, see your recorded miles, and handle the reconciliation for your company car.
Work with travel expense claims
When you open the travel expense claim function, the latest one you were working on is displayed. If you want to manage another travel expense claim, you can browse to an earlier one or create a new one.
You can also use the menu button  at the top right to:
-
Create new travel expense claim
-
Select an existing travel expense claim
-
Delete (preliminary only)
-
Print travel expense claim with attachments
- Register a main account code
- Totals and balances
- Audit travel expense claim
Add transactions
Start by specifying what the travel expense claim pertains to by filling in the Purpose.
If you want to assign an account code to the entire travel expense claim, for example with a specific project, you can do so under the menu button and then Account codes. The account code you specify here applies to all transactions in the travel expense claim, unless you specify another account code for a separate transaction.
Next, it's time to add transactions to the travel expense claim. Click on  and select one of the transaction types.
A transaction row turns green when all details are correctly filled in. If something is missing or incorrect, the row turns red. To see what needs to be corrected, open the transaction, use the menu button and select Control input.
Types of transactions
Here we describe how to register each type of transaction.
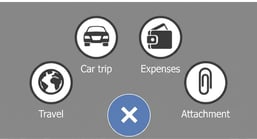
Travel
Start by specifying the type of trip and fill in the date, time, purpose, and any account code.
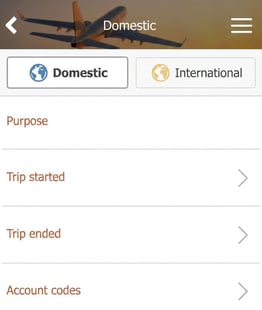
For trips abroad, you must specify the date and time of departure from home and from Sweden. Next, you should specify which countries you visited. Remember to always use local time.
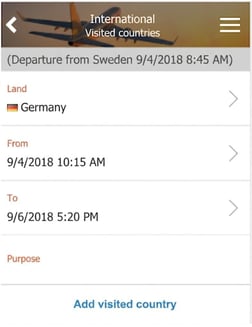
This helps the system calculate in which country you spent the most time. An international trip is completed when you return to Sweden.
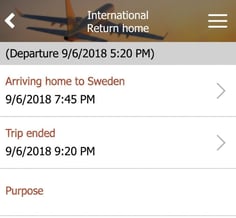
Next, fill in information about meals and accommodation  .
.
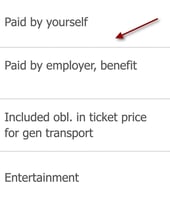
For each day, you can specify how breakfast, lunch, and dinner were paid for. If it’s the same for all days, you can use the quick selection at the top. Here you also specify how accommodation was paid for.
Car trip
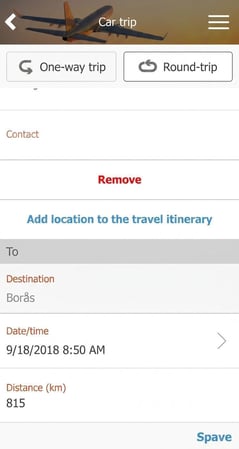
For car trips, first indicate whether it is a one-way trip or a round-trip. Then fill in the purpose, date, time, and places.
Specify your town/city of departure and destination town/city, and you may add additional towns or cities if the trip does not go directly between two places.
Finally, enter the total distance of your trip.
Expenses
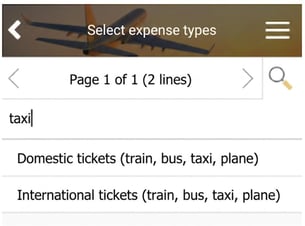
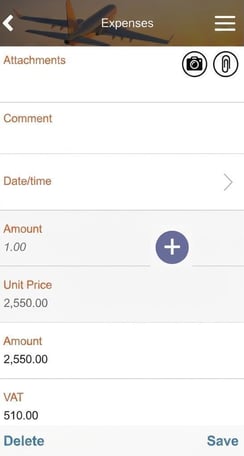
Start by selecting the type of expense. This determines which fields need to be filled in. You can either browse the list or search to find the correct expense type.
Fill in details such as date, amount, VAT, comment and account code. If you do not change the date, today’s date will be set automatically. If you are editing an existing expense, you can delete it if it is incorrect.
Attachments
Use the attachment function to take a photo of your receipt and link it directly to your expense.
Click on  to either:
-
Take a photo of the receipt.
-
Use an image you have previously taken.
-
Retrieve a file from a linked cloud service.
As soon as your attachment is created, it is linked to your expense.
If you click on the attachment  you can see a preview audit and edit the attachment’s description.
If you need to change the attachment’s name, remove the link to the expense or delete it entirely, click on the picture or:
Entertainment
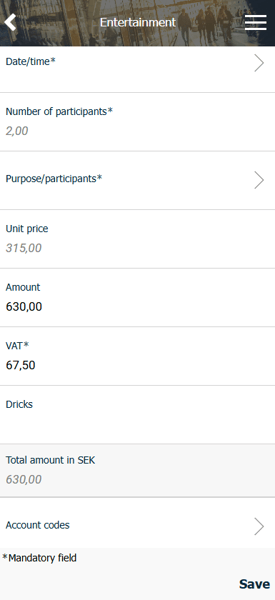
Entertainment is handled as an expense but requires other information. You register it in the same way as a regular expense.
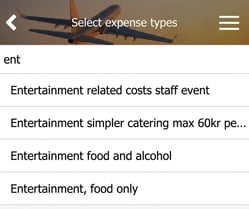
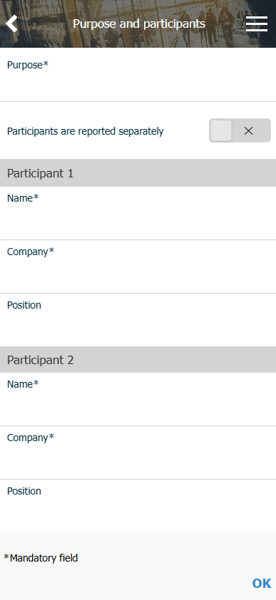
Start by choosing the type, either by searching or browsing the list. Then fill in the required information, such as number of participants, amount, VAT, tips, purpose, and names of the participants.
Finish the travel expense claim
You can check a summary of the travel expense claim under the menu button and then Summary.
To finish the travel expense claim you need to sign it. You do this by using the menu button and then Submit. If everything is filled in correctly, the travel expense claim will get the status submitted. If something is missing, the system will show what you need to adjust.
Please note: This article is AI-translated. This means that linguistic errors or misunderstandings may occur.